Hexo+GitHub搭建博客
快速入门
文章:使用hexo+github搭建免费个人博客详细教程
视频:手把手教你从0开始搭建自己的个人博客 | hexo_哔哩哔哩_bilibili
主题:本博客是基于hexo-butterfly的主题
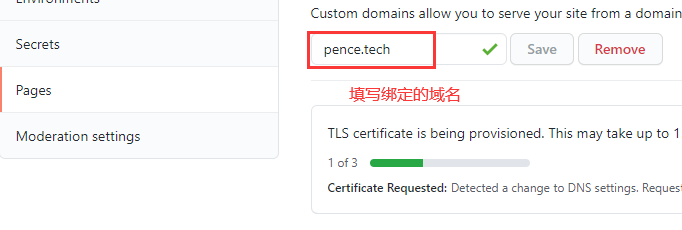
绑定域名
https://www.cnblogs.com/xieqk/p/13503066.html
需要在Hexo->source中添加CNAME文件,因为hexo部署到github时会覆盖之前的数据。
GitHub设置

网站添加小宠物
安装依赖包
1
| npm install --save hexo-helper-live2d
|
在站点配置文件添加以下内容
1
2
3
4
5
6
7
8
9
10
11
12
13
14
| live2d:
enable: true
scriptFrom: local
pluginRootPath: live2dw/
pluginJsPath: lib/
pluginModelPath: assets/
model:
use: live2d-widget-model-wanko
display:
position: right
width: 150
height: 300
mobile:
show: true
|
安装需要的宠物文件
1
| npm install live2d-widget-model-haruto
|
其他宠物包点击 live2d-widget-models
Hexo常用命令
1
2
3
4
5
6
7
8
9
10
11
12
13
14
15
16
17
18
| hexo new "postName" #新建文章
hexo new page "pageName" #新建页面
hexo generate #生成静态页面至public目录
hexo server #开启预览访问端口(默认端口4000,'ctrl + c'关闭server)
hexo deploy #部署到GitHub
hexo help # 查看帮助
hexo version #查看Hexo的版本
#缩写
hexo n == hexo new
hexo g == hexo generate
hexo s == hexo server
hexo d == hexo deploy
#组合命令
hexo s -g #生成并本地预览
hexo d -g #生成并上传
|